What is Satin Finish Bathroom Paint?

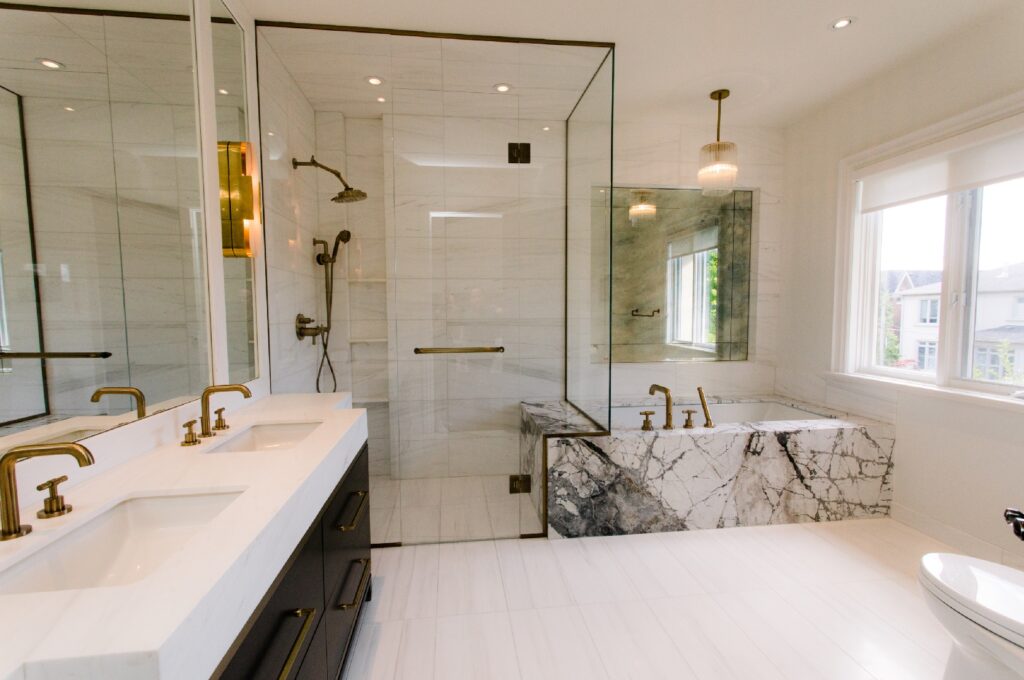
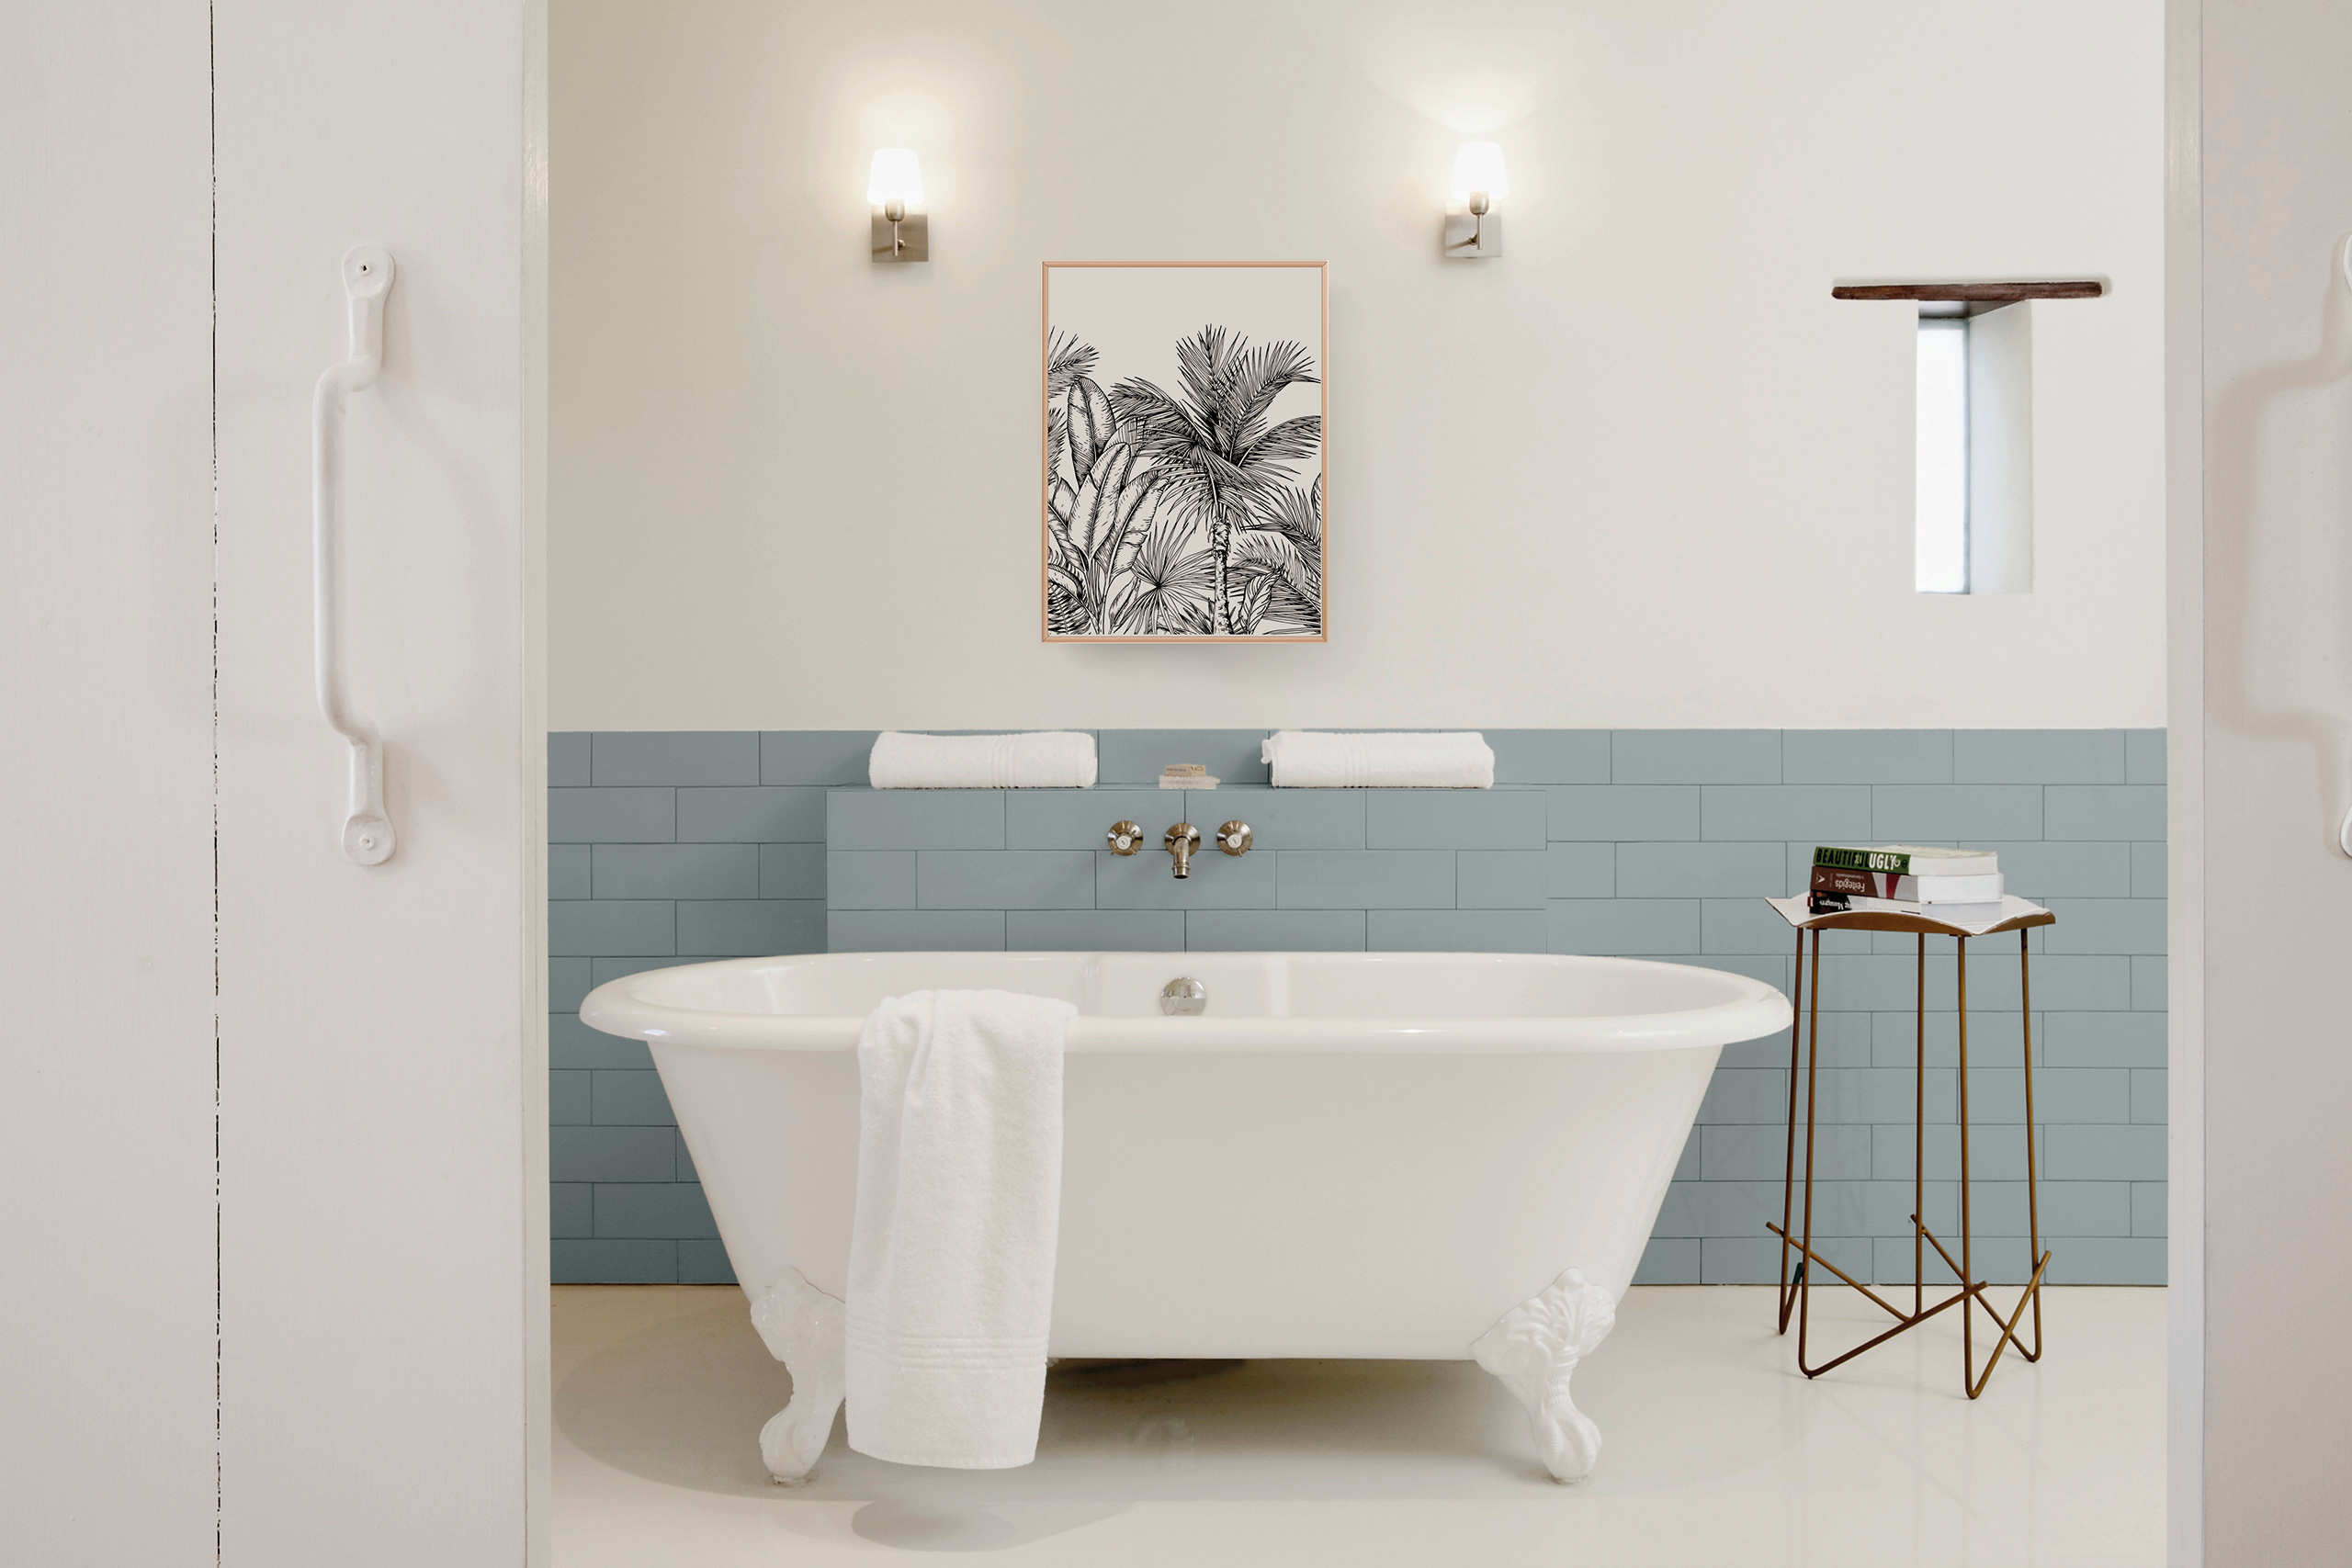
Satin finish bathroom paint is a popular choice for homeowners due to its balance of durability and aesthetic appeal. It offers a smooth, slightly glossy finish that adds a touch of elegance to any bathroom.
Characteristics of Satin Finish Bathroom Paint
Satin finish bathroom paint is characterized by its soft sheen and its ability to resist moisture, mildew, and stains. This makes it a practical and attractive option for high-traffic areas like bathrooms. It offers a subtle shine that enhances the room’s ambiance without being overly reflective.
Benefits of Using Satin Finish Paint in Bathrooms
Satin finish paint offers numerous benefits for bathroom spaces:
- Durability: Its semi-gloss finish provides a protective layer that resists scratches, scuffs, and abrasions, making it ideal for high-traffic areas like bathrooms.
- Moisture Resistance: Satin finish paint is formulated to withstand moisture, preventing mildew and mold growth in humid bathroom environments.
- Easy to Clean: Its smooth surface allows for easy cleaning, making it a practical choice for bathrooms that are prone to spills and splashes.
- Aesthetic Appeal: The soft sheen adds a touch of elegance and sophistication to any bathroom, creating a more inviting and refined atmosphere.
Drawbacks of Using Satin Finish Paint in Bathrooms
While satin finish paint offers many benefits, it also has a few drawbacks:
- Less forgiving for imperfections: Unlike matte finishes, satin finishes can highlight imperfections in the wall surface, such as cracks or unevenness. Proper preparation is essential before applying satin finish paint.
- May show brush strokes: If not applied carefully, satin finish paint can show brush strokes, especially on larger areas. This requires careful application techniques and quality brushes.
Comparison of Satin Finish Paint to Other Bathroom Paint Finishes
Satin finish paint falls between matte and gloss finishes in terms of sheen and durability. It provides a balance between the low-sheen appearance of matte paint and the high-gloss shine of gloss paint. Here’s a comparison:
| Finish | Sheen | Durability | Cleaning | Imperfection Hiding |
|---|---|---|---|---|
| Matte | Flat | Low | Difficult | High |
| Satin | Soft Sheen | Medium | Easy | Medium |
| Semi-Gloss | Moderate Sheen | High | Very Easy | Low |
| Gloss | High Sheen | Very High | Very Easy | Very Low |
Choosing the Right Satin Finish Bathroom Paint

Choosing the right satin finish bathroom paint is crucial for ensuring a durable and aesthetically pleasing finish that can withstand the unique challenges of this high-moisture environment.
Factors to Consider When Choosing Satin Finish Bathroom Paint
When selecting a satin finish bathroom paint, several key factors should be considered to ensure the best possible outcome.
- Moisture Resistance: Bathrooms are prone to high humidity and condensation, making moisture resistance a crucial factor. Look for paints explicitly labeled as “moisture-resistant” or “bathroom-grade.” These paints are formulated with special additives that prevent water absorption, minimizing the risk of mold growth and peeling.
- Mildew Resistance: Mildew thrives in damp environments, so choosing a paint with mildewcide is essential. Mildew-resistant paints contain fungicides that inhibit the growth of mildew, preserving the paint’s appearance and preventing unpleasant odors.
- Durability: Bathroom walls often experience wear and tear from splashes and cleaning products. A durable paint with good scrubbability will resist stains and scratches, maintaining its appearance over time.
- Adhesion: Good adhesion is crucial for paint to bond properly to the surface, preventing peeling or cracking. Look for paints designed for use on bathroom surfaces, such as drywall, tile, or even fiberglass.
- Coverage: Choosing a paint with good coverage ensures a smooth, even finish in fewer coats. This can save time and effort during application and reduce the overall cost of the project.
Choosing the Right Color, Satin finish bathroom paint
The color of your bathroom paint can significantly impact the overall ambiance and feel of the space. Here are some tips for choosing a color that complements your bathroom design:
- Consider the Size of the Room: Light colors tend to make small bathrooms feel larger and brighter, while darker shades can create a more intimate and cozy atmosphere in larger spaces.
- Match the Color Palette: Coordinate the paint color with existing fixtures, tiles, and accessories. Consider using a color wheel to find complementary or analogous colors that create a harmonious and visually appealing space.
- Think About the Mood: Cool colors like blues and greens can create a calming and relaxing atmosphere, while warm colors like yellows and oranges can evoke a sense of energy and vibrancy.
Comparing Satin Finish Bathroom Paint Brands
Here is a table comparing some popular satin finish bathroom paint brands, highlighting their key features and price points:
| Brand | Key Features | Price (per gallon) |
|---|---|---|
| Sherwin-Williams Emerald Interior Acrylic Latex | Moisture-resistant, mildew-resistant, scrubbable, good coverage | $50 – $60 |
| Benjamin Moore Aura Interior Paint | Moisture-resistant, mildew-resistant, durable, excellent adhesion | $60 – $70 |
| Valspar Reserve Interior Paint | Moisture-resistant, mildew-resistant, scrubbable, good coverage | $40 – $50 |
| Glidden One Coat Interior Paint | Moisture-resistant, mildew-resistant, good coverage, affordable | $30 – $40 |
Applying Satin Finish Bathroom Paint

Applying satin finish bathroom paint is a process that requires careful preparation and meticulous application. A well-prepared surface and proper application techniques will result in a durable, long-lasting, and aesthetically pleasing finish.
Preparing the Bathroom for Painting
Before applying paint, it is essential to prepare the bathroom surface thoroughly. This involves cleaning, sanding, and patching to create a smooth and even surface for paint adhesion.
- Cleaning: Remove all dirt, grime, soap scum, mildew, and any other contaminants from the bathroom surfaces. Use a mild detergent and warm water for cleaning. For stubborn stains, you can use a mildew remover or a cleaning solution specifically designed for bathroom surfaces. Allow the surfaces to dry completely before proceeding to the next step.
- Sanding: Lightly sand the surfaces with fine-grit sandpaper (120-180 grit) to remove any imperfections, rough spots, and loose paint. This step helps to create a smooth surface that will allow the paint to adhere properly. Be careful not to sand too aggressively, as this can damage the surface.
- Patching: Fill any cracks, holes, or gaps with spackling compound or patching compound. Apply the compound with a putty knife, smoothing it out to create a seamless surface. Allow the compound to dry completely before sanding it smooth with fine-grit sandpaper.
Applying Satin Finish Bathroom Paint
Once the bathroom surface is prepared, you can start applying the satin finish paint.
- Prepare the Paint: Stir the paint thoroughly to ensure it is well mixed. You can also use a paint strainer to remove any clumps or debris.
- Prime the Surface: Apply a primer to the bathroom surface. Primer helps to create a smooth, even surface and provides a good base for the paint. Use a primer specifically designed for bathrooms to prevent mildew and moisture problems. Allow the primer to dry completely before applying the paint.
- Apply the First Coat: Using a high-quality paintbrush or roller, apply the first coat of satin finish paint. Start at the top of the wall and work your way down, using long, smooth strokes. Avoid overloading the brush or roller with paint, as this can lead to drips and runs. Allow the first coat to dry completely before applying the second coat.
- Apply the Second Coat: Once the first coat is dry, apply a second coat of paint. Use the same techniques as for the first coat. This will help to create a smooth, even finish and enhance the color and durability of the paint.
Choosing the Right Tools and Equipment
Using the appropriate tools and equipment is essential for achieving a professional-looking finish.
- Paintbrush: A high-quality paintbrush with angled bristles is ideal for applying paint to corners, edges, and trim. Choose a brush size that is appropriate for the size of the area you are painting. For example, a 2-inch brush is suitable for painting trim, while a 4-inch brush is suitable for painting walls.
- Paint Roller: A paint roller is ideal for covering large areas quickly and efficiently. Choose a roller with a nap length that is appropriate for the texture of the surface you are painting. For smooth surfaces, a short-nap roller (1/4 inch) is suitable. For textured surfaces, a longer-nap roller (3/8 inch) is recommended.
- Paint Tray: A paint tray with a liner is essential for holding and applying paint. Choose a tray that is large enough to hold the amount of paint you need for the project.
- Paint Extension Pole: An extension pole is useful for reaching high areas without having to use a ladder. Choose an extension pole that is long enough to reach the highest point you need to paint.
- Drop Cloths: Protect floors and furniture from paint splatters and drips using drop cloths.
- Painter’s Tape: Use painter’s tape to mask off areas that you don’t want to paint, such as trim, windows, and doors.
Tips for Achieving a Professional Finish
Here are some tips to help you achieve a professional-looking finish:
- Work in a Well-Ventilated Area: Open windows and doors to ensure proper ventilation. This will help to prevent fumes from building up and to ensure that the paint dries properly.
- Avoid Overloading the Brush or Roller: Too much paint can lead to drips and runs. Dip the brush or roller in the paint tray and remove excess paint by wiping it on the edge of the tray.
- Use Long, Smooth Strokes: Apply the paint in long, smooth strokes, overlapping each stroke by about 50%. This will help to create a smooth and even finish.
- Avoid Painting in Direct Sunlight: Direct sunlight can cause the paint to dry too quickly and lead to uneven coverage. Try to paint in the shade or on a cloudy day.
- Clean Up Immediately: Clean your brushes, rollers, and other tools immediately after use. This will prevent the paint from drying and becoming difficult to remove. Use a paint thinner or solvent specifically designed for the type of paint you used.
Satin finish bathroom paint offers a subtle sheen that’s both elegant and practical, hiding minor imperfections while still reflecting light. If you’re looking to update your bathroom’s look, you might consider painting your chrome fixtures as well. Check out this article for tips on can you paint chrome bathroom fixtures.
Once you’ve painted your fixtures, a satin finish bathroom paint will complement the new look beautifully, creating a cohesive and stylish space.
Satin finish bathroom paint offers a balance between durability and a soft sheen, making it a popular choice for walls. Its subtle sheen can help reflect light, making a small bathroom feel more spacious, especially when paired with a clever layout, such as a small bathroom layout with corner shower.
The satin finish also provides a practical layer of protection against moisture and stains, making it ideal for high-traffic areas like the bathroom.
